We’ve all been in that situation. It’s Tuesday at 6:00 PM when you go to the gym. There are a lot of people there. There are three guys on their phones in a line at the bench press. The air smells like a mix of terrible choices and rusty iron. You want to get your lift and go home.
That’s when the thought typically comes to you: “Why don’t I just make my own place?”
Setting up a home gym isn’t simply about storing heavy equipment in your garage. It’s about being free. It’s about playing your own music, wearing whatever you want, and never having to wait for a squat rack again.
This is your full guide to designing the ultimate training environment, whether you have a huge basement or just a small spot in a spare bedroom.
Phase 1: The Space Assessment (Be Honest Here)
You need to check how much space you have before you buy a dumbbell. I’ve seen guys buy a huge power cage for a room with ceilings that are only 7 feet high. Don’t be that man.
The Gym in the Garage
This is the best of the best. Your floors are normally made of concrete, your ceilings are high, and you have a huge entrance that lets in fresh air.
- Pros: Lots of room, heavy lifting is easy, and noise isn’t a big deal.
- Cons: You can’t manage the temperature (it gets too cold in the winter and too hot in the summer).
The Extra Room
You need to be smarter about space if you’re setting up inside.
- Pros: The climate control is wonderful, and the place is clean.
- You need to be careful with the floor, though. You can’t drop weights until you make the floor stronger. You might not be able to do overhead presses if your ceiling is too low.
The Basement
The dungeon feel. It’s a classic.
- Pros: The temperature is cool all year, and the foundation is strong.
- Cons: High humidity can cause your costly barbell to rust. You need a dehumidifier.
Quick Tip: Measure the height of your ceiling twice. Power racks are usually between 80 and 90 inches tall. You need space to do pull-ups.
Phase 2: Flooring is The Foundation
Don’t skip this. No joke. Putting heavy machinery directly on concrete will damage it. Putting it on the carpet can damage the floor and make you less stable.
You need some rubber. But don’t buy those pricey “yoga” tiles that break easily.
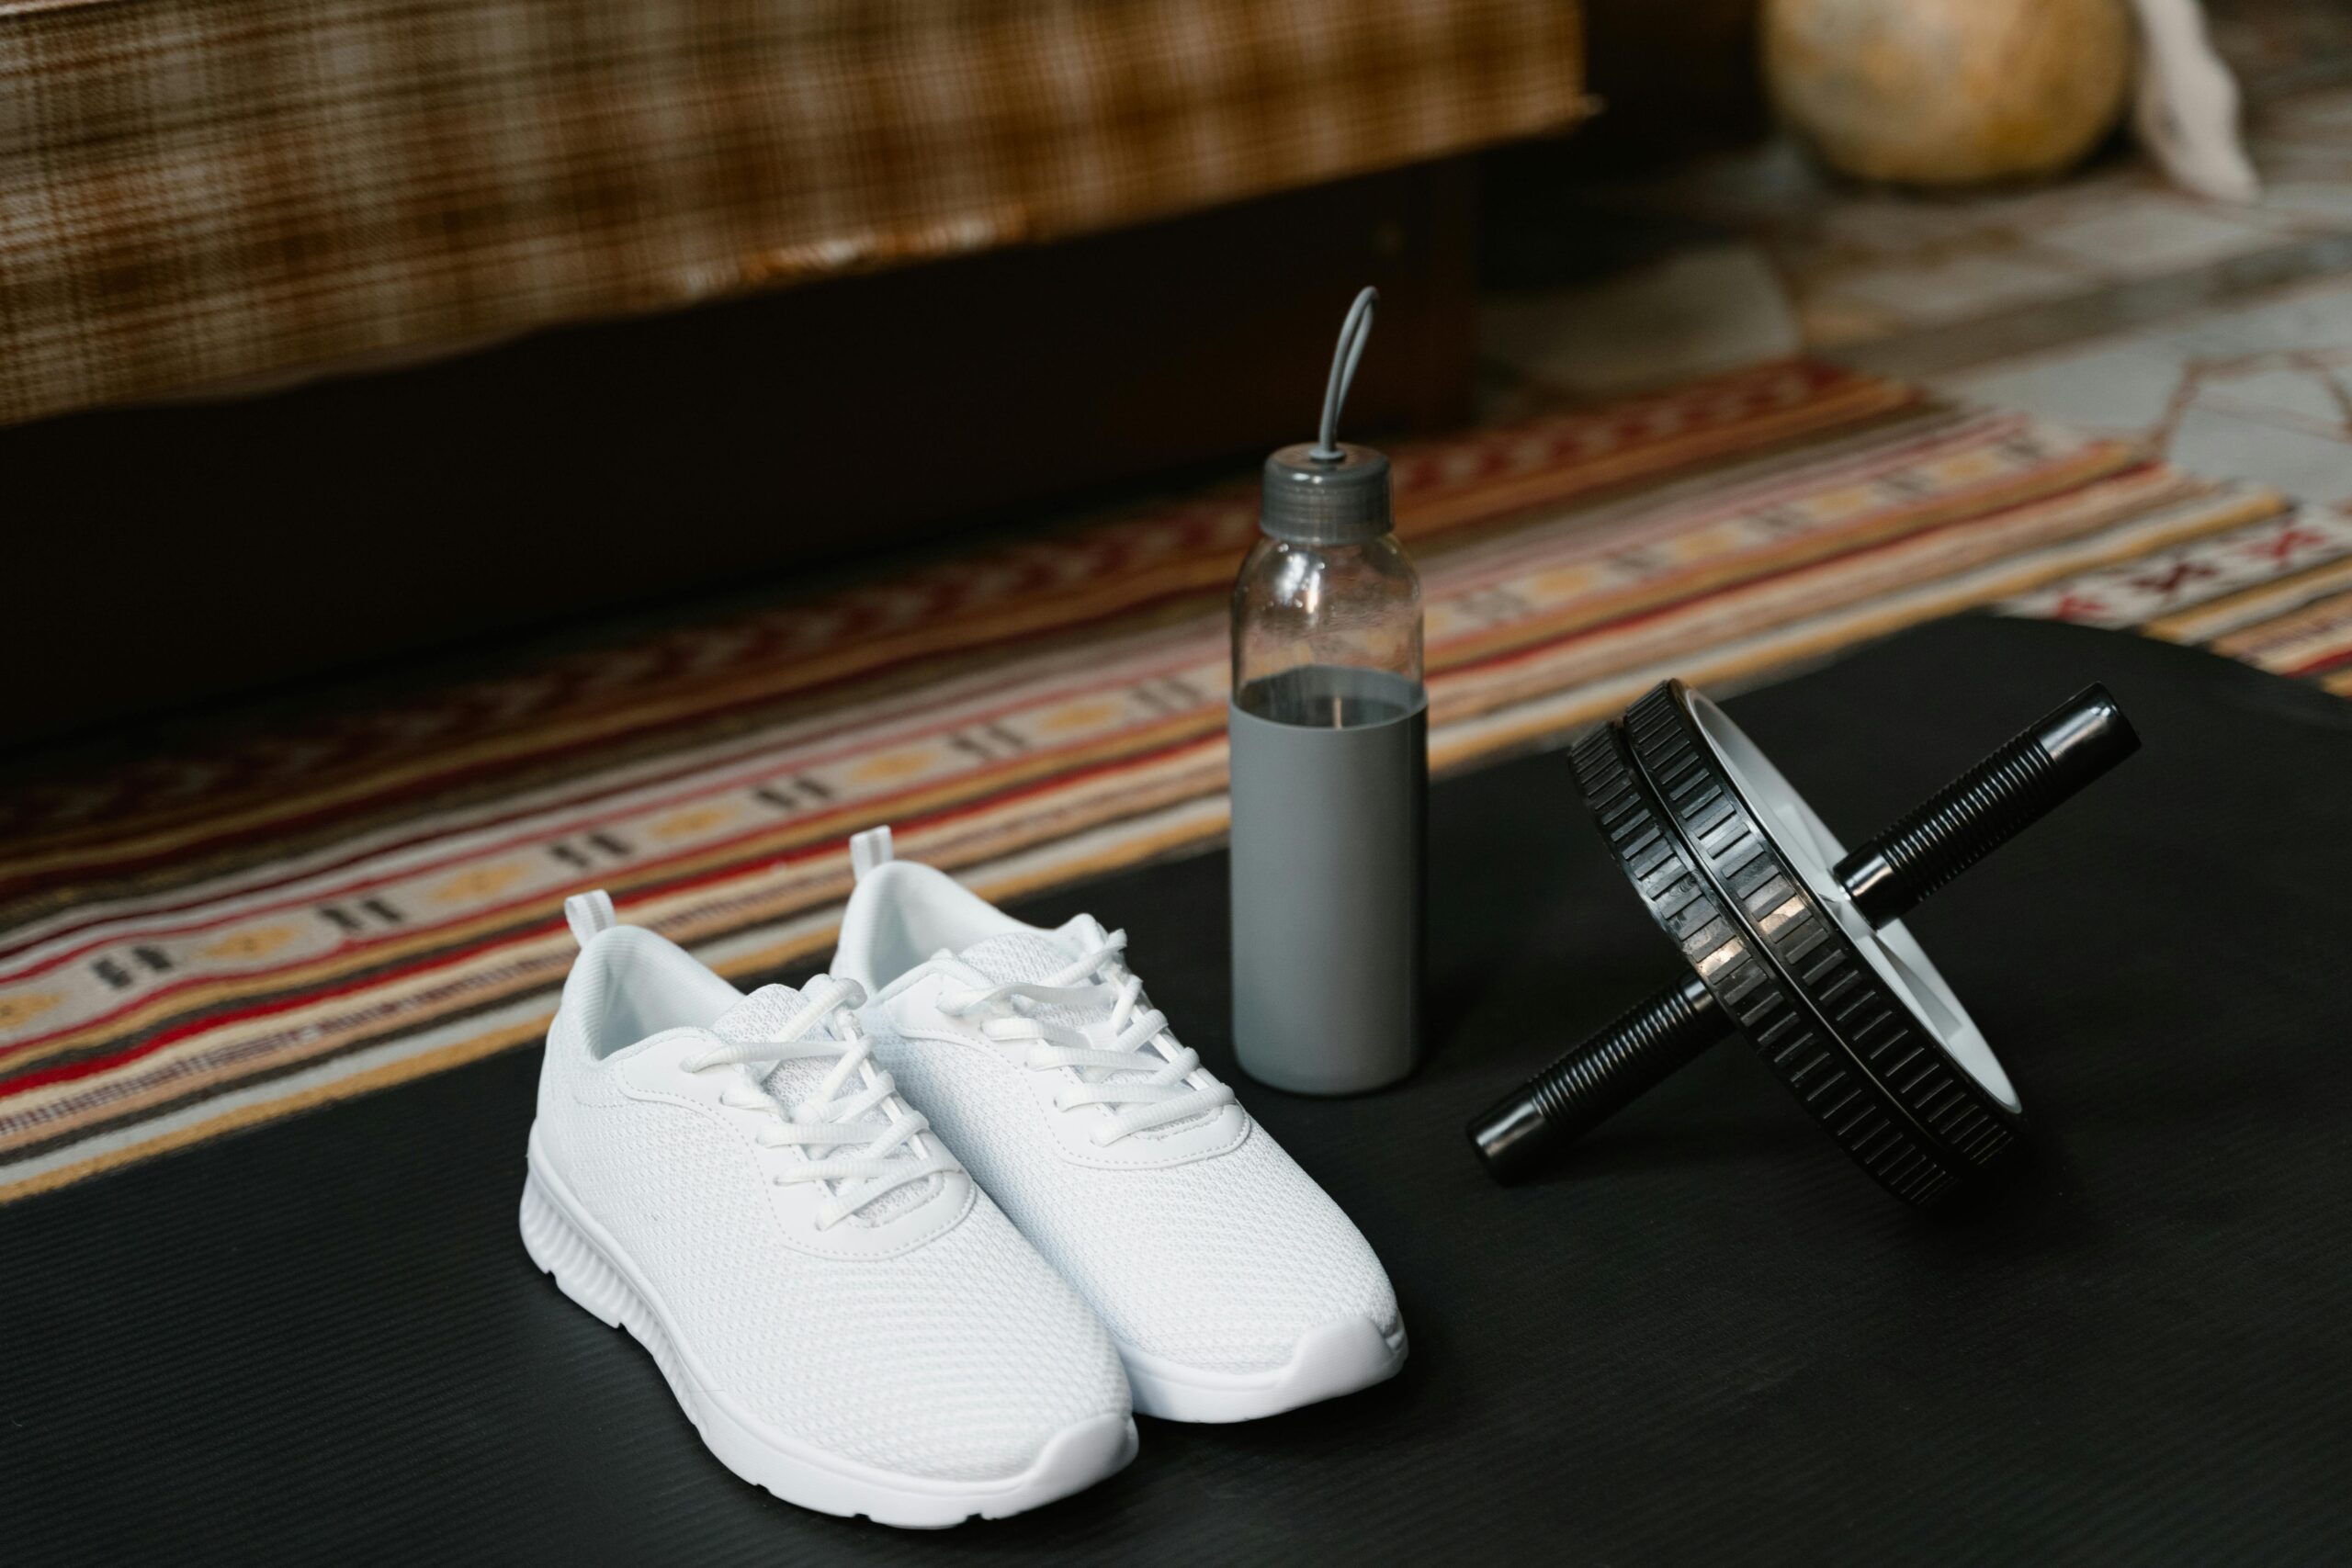
To get horse stall mats, go to a store that sells farm supplies. Get rubber mats that are 3/4 of an inch thick. They are heavy, bulletproof, and cost less than flooring made just for gyms.
- Stability: When you squat heavy, these mats don’t get smaller. That protects your knees.
- Protection: If you drop a deadlift, they will absorb the shock.
The American Council on Exercise (ACE) says that having the right flooring is important for preventing slip-and-fall incidents and protecting your joints during plyometric activities.
Phase 3: The Big Three (Essential Equipment)
OK, let’s spend some cash. But let’s use it for things that matter. These are the things you can’t live without if you want to set up a home gym.
1. The Power Rack is the main item.
This is what will keep you safe. You need a rack with safety pins or straps if you lift by yourself.
- The 4-Post Rack is the most stable. Takes up extra room, but lets you store plates.
- Squat Stand: Takes up less space. Suitable for squats and bench presses, but not as safe for big single bench presses.
- Wall-Mounted Rack: It folds up against the wall. Great if you need to park your car at the gym later.
2. The Barbell (Don’t Get Cheap)
You can buy inexpensive plates, but don’t get a cheap barbell. A bad bar bends, has bad knurling (grip), and the sleeves don’t turn.
- The Whip: A good multi-purpose bar bends a little but then snaps back to straight.
- The Knurl should hold on to your hand without tearing it up.
- The sleeves: They need to be able to spin freely so that the weights don’t twist your wrists.
3. The Bench That Can Be Adjusted
You need something strong to lie on.
- Flat Bench: Strong and less expensive. If you simply care about powerlifting, this is OK.
- Incline/Flat: More options for use. Lets you work out your shoulders and upper chest. Find a bench where the pads are less than 2 inches apart.
Phase 4: Weights and Resistance
You have the skeleton; now you need the strength.
Iron Plates vs. Bumpers
- Bumper Plates: Made of rubber. They are safer and quieter to drop. Get these if you want to undertake Olympic lifts or CrossFit-style workouts.
- Cast Iron: The old-school clangs. You can fit more on the bar because they are thinner. They are normally cheaper per pound, but they are loud and can break concrete if you drop them.
Dumbbells
You have two choices for the right place to work out:
- The classic Rack for fixed dumbbells. It looks great, is useful, but costs a lot of money and takes up a lot of space.
- Adjustable dumbbells are a must-have for home gyms. You can achieve a range of 5 to 50 pounds (or more) in the space of two shoeboxes.
Check out Facebook Marketplace or Craigslist to save money. Iron doesn’t spoil. A weight that is rusted weighs the same as one that is gleaming. You can make old weights look brand new with a wire brush and some spray paint.
Phase 5: Cardio and Conditioning
This is where folks go wrong. They buy a huge treadmill that they can use to put on clothing. Be honest with yourself about what you will do.
- Jump Rope: The cheapest way to get your heart rate up. Doesn’t take up any space.
- Air Bike (Assault Bike): the devil’s bike. Great for short bursts of strong intensity. No motor to break.
- Rower: full-body workout. To conserve space, a lot of models stand up.
The Mayo Clinic and other trustworthy sources always stress that combining strength training with aerobic exercise is important for heart health in the long term.
Phase 6: Lighting and Atmosphere
It may seem small, but it’s not. You won’t want to work out at a gym that is dark and sad.
- Mirrors: It’s not only for looks. If you don’t have a coach, it’s really important to pay attention to your form. You may get a cheap frameless mirror at a hardware store.
- Lighting: Get rid of the yellow light bulbs. Get LED store lights that are brilliant and cool white. You want to be awake.
- Sound: Get a speaker that works with Bluetooth. Music makes things more intense.
Phase 7: Common Mistakes to Avoid
Several setups have gone wrong for me. This is how to avoid the headaches.
- Buying Everything at Once: Start with the basics. Only add a piece of equipment when your training calls for it.
- Not paying attention to ventilation: Air flow is quite important in a garage. In the heat, a regular industrial fan could save your life.
- For cheap racks, look for steel that is 11-gauge or heavier. It’s risky if the Rack shakes when you put the bar on it.
Creating a Layout That Flows
Think about how things will flow when you set up your home gym.
- Rack Position: Ensure you can easily load plates on both sides and keep them away from windows to prevent damage.
- The deadlift platform should be on the flattest area of the floor.
- Dumbbell Area: Ensure you have sufficient room to swing your arms without hitting the Rack.
Budget Tiers for Every Lifter
You don’t need a millionaire’s budget to get jacked.
The “I’m Broke” Tier ($300 – $500):
- Used plates.
- Horse stall mats.
- Basic squat stand.
- Cheap flat bench.
The “Solid” Tier ($1,500 – $2,500):
- Quality power rack with a pull-up bar.
- New bumper plates.
- Multi-grip pull-up bar.
- Adjustable dumbbells.
- Cardio piece (Rower or Bike).
The “Dream Gym” Tier ($5,000+):
- Functional trainer (Cable machine).
- Specialty bars (Safety Squat Bar, Trap Bar).
- Custom flooring.
- Full dumbbell rack.
Conclusion
The finest thing you can do for yourself is to set up a home gym. It gets rid of the excuses. It saves you time. It gives you a safe place to live where you make the rules.
Keep in mind that you don’t have to do the whole thing in one day. You need a bar, a rack, and some plates to begin. Put the toys in afterward. The name of the equipment isn’t the most important thing about your perfect workout area. The most important thing is how hard you work when you close the door.
FAQs
How much room do I really need for a gym at home?
A full rack and barbell arrangement should fit in a space that is at least 10 feet by 10 feet. This allows you space to load the bar and move about. If you don’t have a lot of room, consider getting dumbbells and a heavy-duty adjustable bench.
Is it cheaper to have a gym at home than to pay for a membership?
No, upfront. Long-term? Definitely. That’s $600 a year, plus transportation and time, if you pay $50 a month for a membership. A good home gym that costs $2,000 pays for itself in around three years, and the equipment lasts for a long time.
Can we construct a gym on the second floor?
Yes, but be careful. Structures are made to hold static weight, but when you drop weights, they create “dynamic load,” which is significantly heavier. If you’re upstairs, only do controlled movements and don’t do big deadlifts.
What is the one thing I shouldn’t buy used?
Cardio machines and cables with motors. These have pieces that move and wear out. A piece of iron will always be iron, but a broken motor on a used treadmill is just a big paperweight.