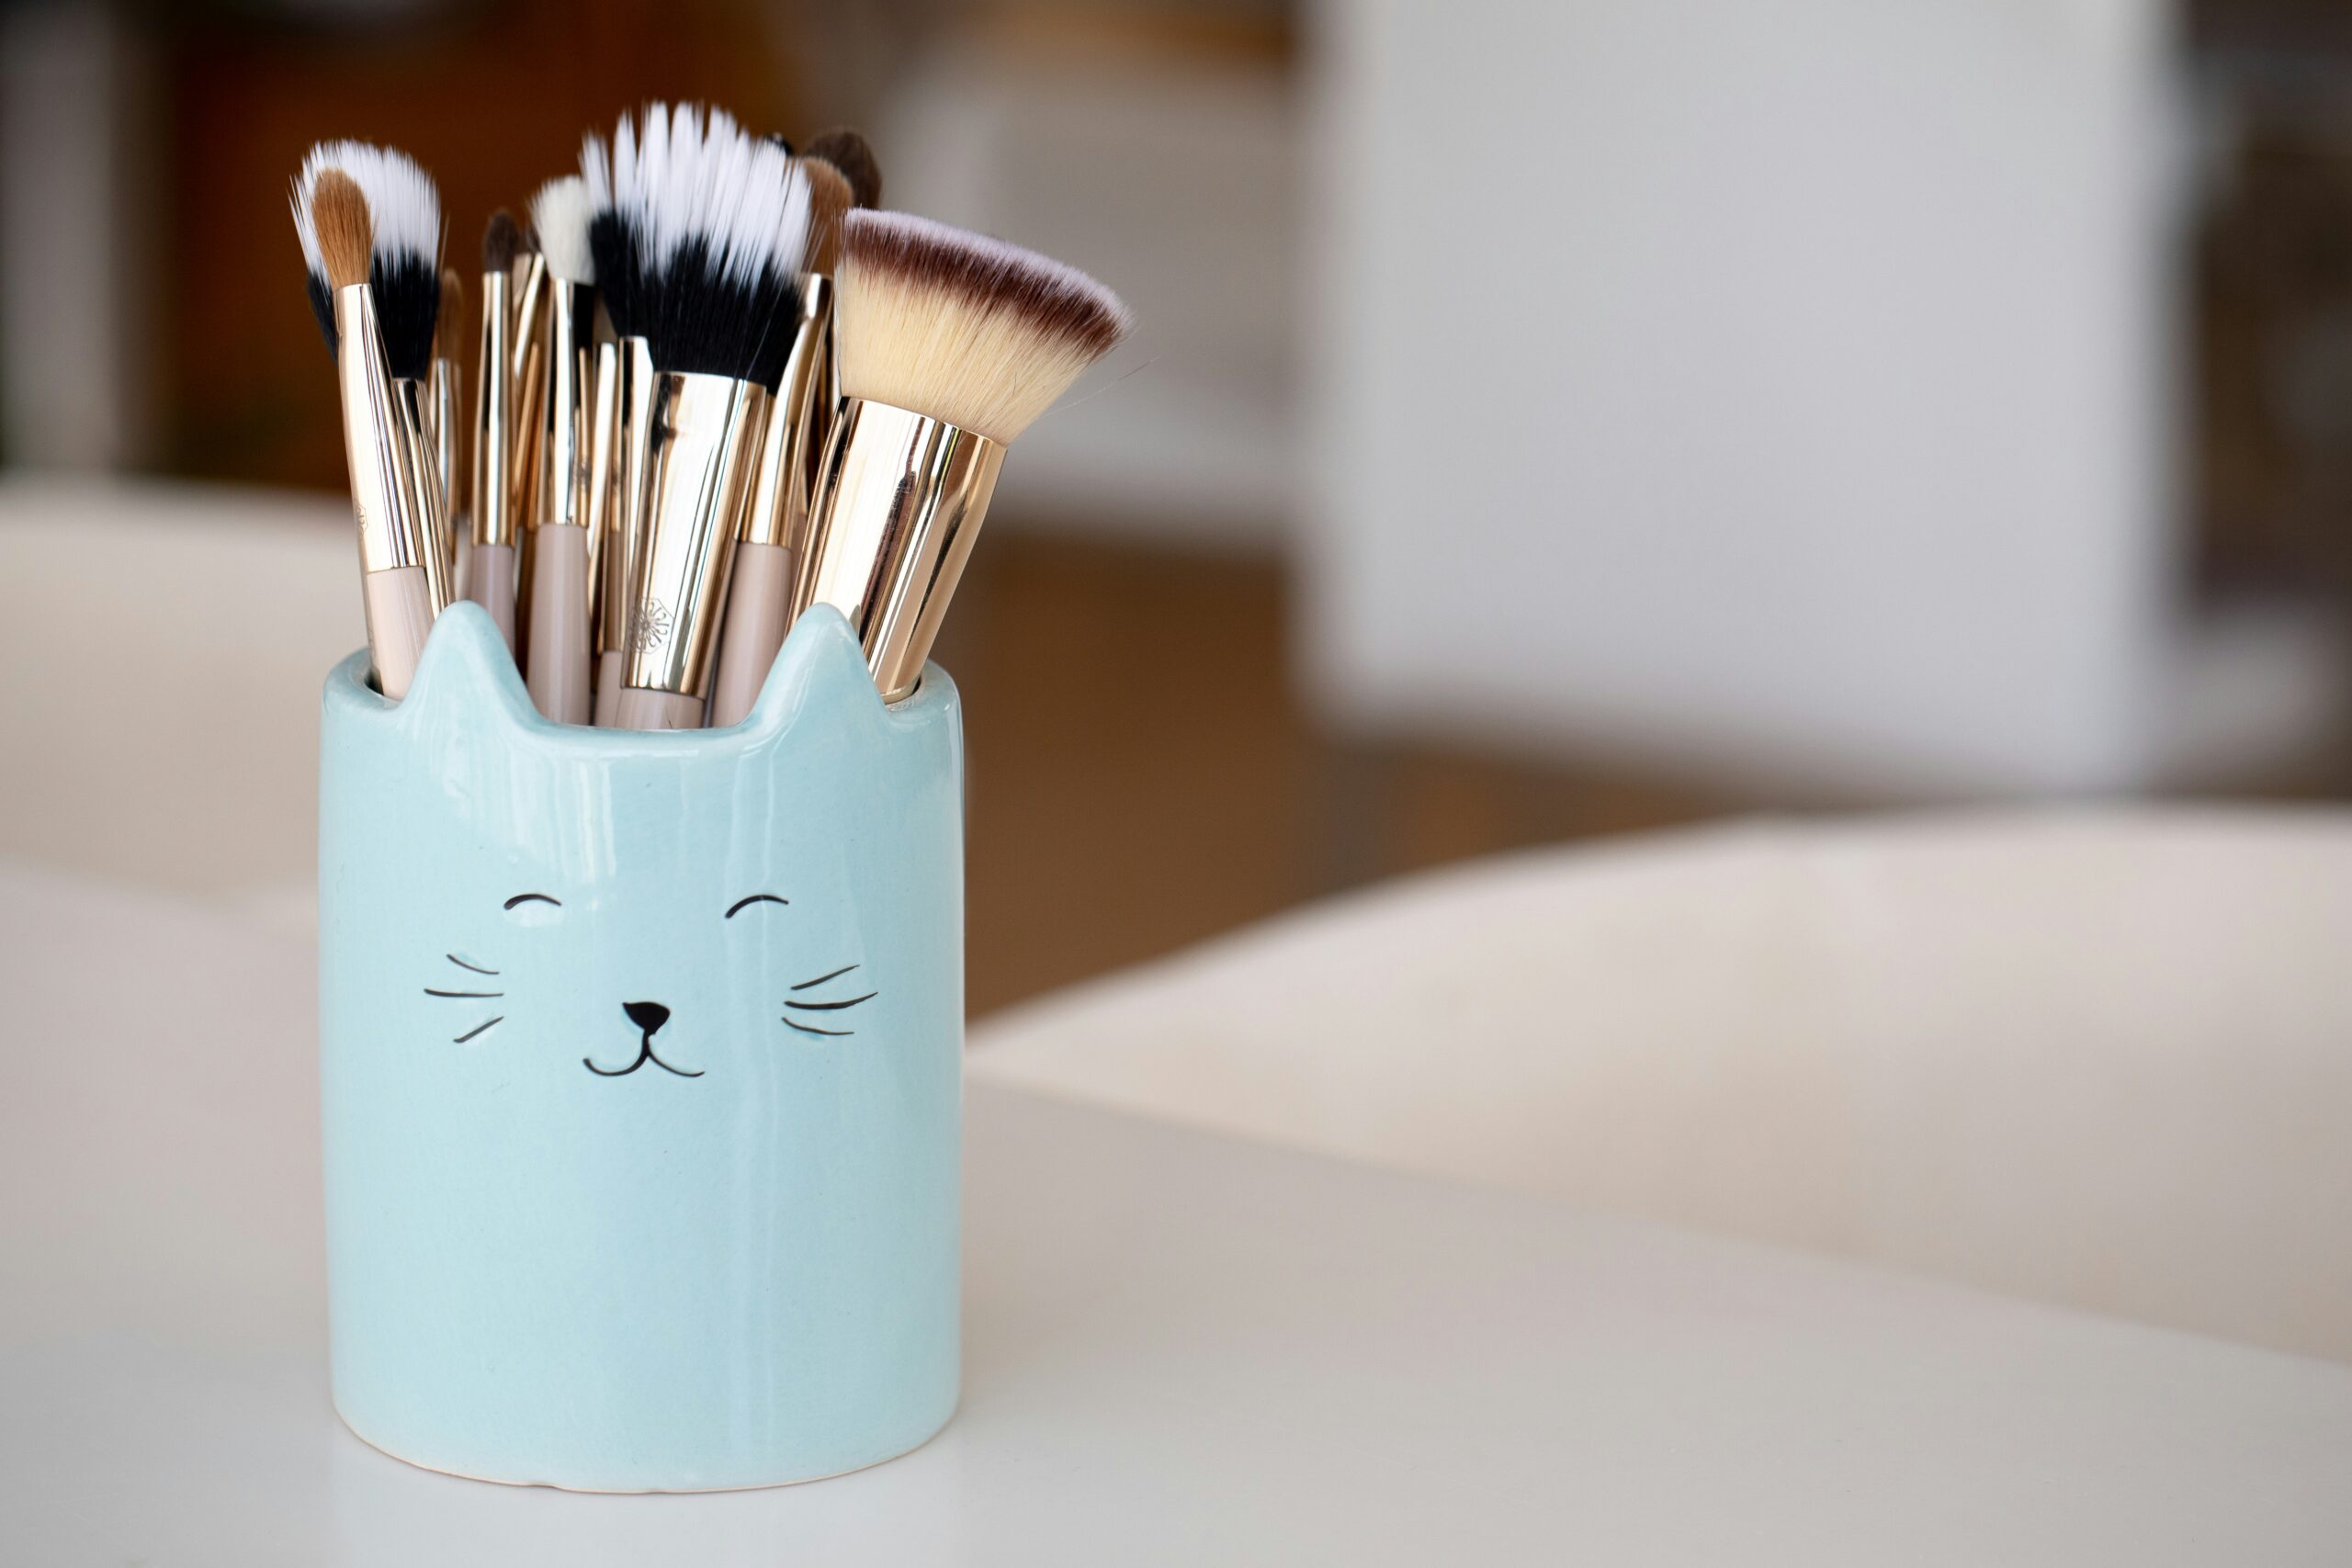
You can buy the most expensive foundations and the highest-grade skincare, but if you are applying them with a dirty makeup brush, you are fighting a losing battle. A used brush is essentially a trap for dead skin cells, sebum, and residual product.
Over time, this mixture creates an ideal breeding ground for bacteria, including E. coli and staph, which frequently lead to acne and localized skin infections.
Most people know they should wash their hands. The American Academy of Dermatology recommends cleaning them every seven to ten days.
The process is often done wrong. Aggressive scrubbing, the wrong water temperature, and improper drying techniques destroy expensive brushes long before their time.
The Chemistry of the Bristle
Before water ever touches your brush, you have to understand what you are washing. You cannot treat all brushes identically.
Natural Hair Brushes. These are typically made from animal hair (like sable or goat) and are designed to pick up and blend dry powders like eyeshadows and setting powders. Because they are natural hair, they have microscopic cuticles. Harsh detergents or pure alcohol will strip their natural moisture, causing them to become brittle, snap, and shed. They require gentle care, much like the hair on your head.
Synthetic Brushes Made from nylon or other artificial fibers, these brushes lack a cuticle. They are built to handle liquid foundations, cream blushes, and heavy concealers. Because creams contain heavy oils, silicones, and waxes, synthetic brushes require strong degreasers. A gentle baby shampoo often won’t cut through a heavy, waterproof foundation.
Selecting the Right Cleansing Agent
Choosing the right soap is a trade-off between preservation and sanitation. Here is a breakdown of what works, what doesn’t, and when to use each.
| Cleanser Type | Best For | The Trade-Off |
|---|---|---|
| Gentle / Baby Shampoo | Natural hair brushes, powder tools. | Safe and conditioning, but lacks the degreasing power to break down heavy liquid foundations. |
| Liquid Dish Soap (e.g., Dawn) | Synthetic foundation and concealer brushes. | Strips away stubborn oils and silicones instantly. Too harsh for natural hair; can cause shedding. |
| Solid Brush Cleansers / Bar Soap | Dense buffer brushes, beauty sponges. | Excellent for working up a lather directly on the tool. Can leave a slight film if not rinsed thoroughly. |
| Spirit / Alcohol-Based Cleaners | Quick color-changes, on-set makeup artists. | Dries in minutes and kills bacteria instantly. Will severely dehydrate natural bristles with frequent use. |
The Pro Method: A Step-by-Step Deep Clean
If you want to keep your brushes from shedding and losing their shape, mechanics matter just as much as the soap.
1. The 45-Degree Rule
Turn on your faucet to a lukewarm temperature. Hot water is a death sentence for makeup brushes—it expands the metal ferrule (the band holding the bristles) and melts the internal glue, leading to massive shedding.
Hold your brush pointing downward at a 45-degree angle under the water. Never submerge the entire brush head or let water run vertically down into the handle. Once water rots the wooden handle or degrades the glue, the brush is ruined.
2. The Lather and Massage
Apply a dime-sized drop of your chosen cleanser into the palm of your clean hand or onto a textured silicone cleaning mat. Silicone mats are excellent because their varied grooves help dislodge packed-in pigments much faster than your fingers, extending the life of the bristles by reducing the physical pulling.
Gently swirl the wet bristles in circular motions. Do not aggressively mash the brush head down into the mat; this snaps the fibers and ruins the engineered shape of the brush.
3. The Clear Rinse
Keep swirling under the lukewarm water until the water runs completely clear. For a densely packed kabuki foundation brush, this might require two or even three lather-and-rinse cycles to extract the core pigment fully.
A Real-World Scenario
While the deep-clean method is perfect for a Sunday evening, it isn’t always practical. Consider the realities of a professional makeup artist working backstage at a runway show. They have ten minutes to switch a brush from a black gel eyeliner to a bright white cream shadow.
In these high-stakes scenarios, artists rely on spirit-based solutions (like Parian Spirit or Cinema Secrets).
The artist pours a small amount of the alcohol-based cleaner into a glass cup, dips only the tip of the bristles, and wipes them vigorously on a paper towel.
The heavy oils are instantly stripped, and because alcohol evaporates rapidly, the brush is completely dry and sanitized in under 30 minutes.
If you are doing your own makeup at home, you rarely need this aggressive, rapid-dry approach. Stick to the deep water cleanse to extend the life of your tools, saving the alcohol sprays for quick eyeshadow color switches.
The Art of Drying (Where Most People Fail)
You have successfully washed your brush. If you stand it upright in a cup to dry, you have just undone all your careful work. Gravity will pull the residual moisture directly into the ferrule, breeding mold and loosening the glue.
- Squeeze: Gently wrap the wet bristles in a microfiber towel or heavy paper towel and squeeze out the excess moisture. Do not pull or twist.
- Reshape: Use your fingers to mold the bristles back into their original, manufactured shape. If you let a brush dry splayed out, it will apply makeup splayed out.
- Position: Lay the brushes entirely flat on a dry towel. Critically, slide the brush so the bristle head hangs completely off the edge of the counter. This allows 360-degree air circulation, preventing a musty smell and speeding up the dry time.
Drying Timelines to Expect
Depending on your climate and the brush density, drying takes time.
- Small eyeshadow brushes: 4 to 6 hours.
- Medium blush/powder brushes: 6 to 8 hours.
- Dense foundation brushes: 8 to 12 hours.
- Large, fluffy bronzer brushes: 12 to 24 hours.
If you live in a highly humid environment, drying can take even longer. Running a dehumidifier in the room can prevent mold growth inside dense brushes.
What About Electric Brush Cleaners?
Electric brush cleaners have flooded the market, promising to wash and dry tools in seconds. These devices use centrifugal force—spinning the brush rapidly in a bowl of soapy water to push debris out, then spinning it in the air to dry it instantly.
The Trade-off:
They are incredibly efficient, often taking a dirty foundation brush to perfectly clean and bone-dry in under 60 seconds. This is highly convenient if you need to use the tool immediately. However, spinning at maximum speeds can permanently warp the delicate hairs of expensive natural brushes.
If you use an electric cleaner, reserve it for your sturdy synthetic foundation and concealer brushes, and manually wash your delicate, high-end natural hair tools.
Common Mistakes Checklist
Before you head to the sink, ensure you aren’t making these common errors:
- Using hot water: Melts glue, causes shedding.
- Drying upright: Rots the wood and causes mold.
- Sharing brushes: A fast track to cross-contamination and bacterial breakouts.
- Soaking the brushes: Leaving brushes sitting in a bowl of water will permanently destroy the handles.
- Ignoring the sponge: Beauty sponges soak up water and hold onto it inside their dense core. They need to be washed just as frequently, squeezed thoroughly, and left in an open, airy environment to prevent yeast growth.
Final Thoughts
The tools you use have a big effect on how well your makeup works. Following a tight, gentle cleaning practice will not only help your foundation blend better, but it will also protect your skin barrier from bacteria that can be avoided. Think of taking care of your brushes as a direct part of making a regular skincare routine.
You can keep your tools clean and working well for years to come by learning how to control the water temperature, knowing what types of bristles you have, and being patient with the drying process.
Frequently Asked Questions
How often do I really need to wash my brushes?
Liquid foundation, concealer, and sponge applicators should be washed every 7 days, as wet environments breed bacteria quickly. Brushes used for dry powders (blush, bronzer, setting powder) can be pushed every two weeks to a month.
Can I use olive oil to clean my brushes?
Yes, but only as a pre-cleanse. For highly stubborn, waterproof gel eyeliners or lipsticks, a drop of olive oil helps break down the cosmetic waxes (since oil dissolves oil). However, you must immediately follow up with dish soap or shampoo to wash the heavy olive oil out; otherwise, your brush will be left greasy.
Why does my brush feel scratchy after I wash it?
If you washed a natural hair brush with harsh dish soap, you stripped its moisture. You can fix this by massaging a tiny drop of standard hair conditioner into the bristles, rinsing thoroughly, and letting it dry flat.
When should I throw a makeup brush away?
A well-cared-for brush can last years. However, if the brush is shedding heavily onto your face, the ferrule is loose and rattling, or the bristles have permanently lost their shape and feel scratchy against your skin, it is time to replace it.